Automating Greenhouse Ventilation for Summer Heat Waves
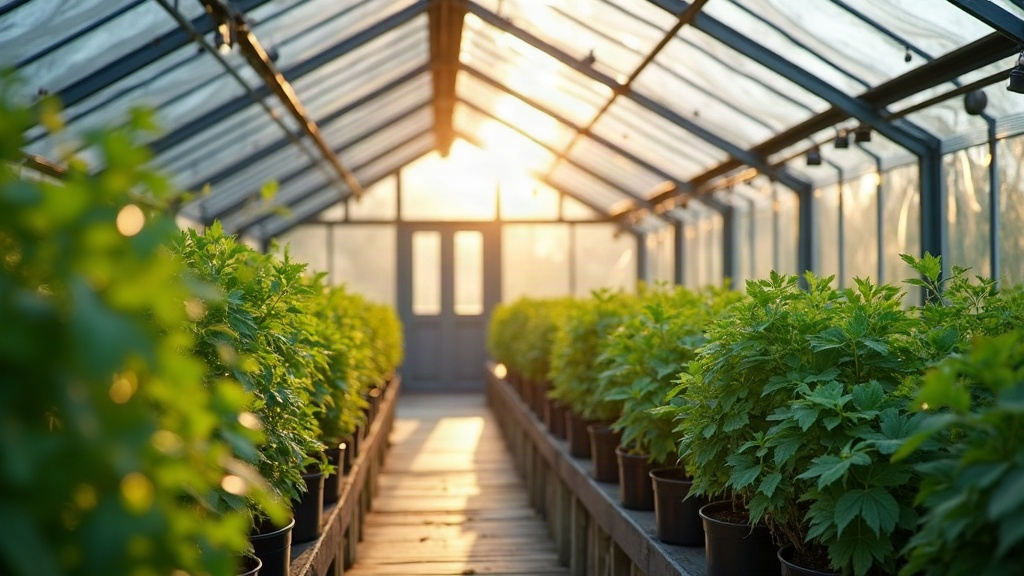
When a heat wave rolls in, a greenhouse can go from plant nursery to oven in under an hour. I’ve seen it happen on a 90°F afternoon with the doors shut for lunch. Automating greenhouse ventilation with temperature sensors fixes this: vents open, fans kick on, air cools before your plants start cooking, and you’re not sprinting outside at noon to check a thermometer. Here’s how these systems actually work, what thresholds to dial in, and which hardware survives a brutal summer instead of quitting on you.
Why Manual Ventilation Fails in a Heat Wave
A closed greenhouse sitting in 85°F (29°C) sun can hit 120°F (49°C) inside within an hour, sometimes less if the structure is small and the glazing traps heat well. During a multi-day heat wave, indoor temps spike fast in the morning and stay brutal into the evening, long after you’ve stopped thinking about it. Manual ventilation, meaning someone propping open a door or cranking a vent by hand, only works if that someone is standing there at the exact right moment. Miss the window by 30 minutes and here’s what you’re looking at:
- Wilting or scorched leaves on heat-sensitive crops like lettuce, spinach, and young seedlings
- Pollen sterilization in tomatoes and peppers above 95°F (35°C), which kills fruit set for that cycle entirely
- Soil moisture evaporating fast, stressing roots even if your watering schedule hasn’t changed
- Heat-triggered bolting in leafy greens and herbs, basil especially
Automation doesn’t just help with this. It removes the human reaction-time problem altogether.
How Automated Ventilation Systems Work
A basic setup breaks down into three parts:
- Temperature sensors mounted at plant canopy height, not up near the roofline where heat pools and gives you an inflated, misleading reading
- A controller that reads the sensor data and checks it against a threshold you’ve set
- Actuators, meaning motorized roof vents, side louvers, shutter fans, or exhaust fans, that open or switch on the moment that threshold gets crossed
Most people now run Wi-Fi or Zigbee sensors (a SensorPush, Govee, or Ecowitt probe, for instance) paired with a smart plug or a dedicated greenhouse controller. There’s also a lower-tech option worth mentioning: wax-filled automatic vent openers. These are solar-powered, need zero wiring, and physically expand to push open a roof window once the wax inside hits a set temperature. Hobby growers love them precisely because there’s nothing to install electrically.
Setting the Right Temperature Thresholds
This is where most people mess up. Setting thresholds too high, or too late, and the plants have already suffered by the time anything opens. Rough guidelines that work well in practice:
- Open vents at 75–80°F (24–27°C) inside air temp, which feels early, but greenhouse air always lags behind outside temps, so you need the head start
- Turn on exhaust/circulation fans at 85°F (29°C)
- Trigger shade cloth or misting at 90°F (32°C), if your setup has that option
- Full emergency venting (everything, all at once) above 95°F (35°C)
When there’s an actual heat wave advisory, shift every one of these thresholds down by 5°F, and add a second sensor outside so the system knows what it’s up against. If it’s 105°F outside, vents wide open still won’t get you below outdoor air temp, so you may need shade cloth working alongside ventilation rather than instead of it.
Building a Multi-Sensor Setup
One sensor covers a small hobby greenhouse. Anything bigger, and you’re flying blind with just one reading. A layout that actually holds up:
- One sensor at canopy height, centered in the greenhouse
- One near the door or lowest vent, which tends to run cooler
- One near the peak or roofline, your hottest zone, and the one that should trigger roof vents specifically
- One outside, mounted in shade, tracking ambient conditions during the heat wave itself
Feed all four into something like an Ecowitt base station, or a smart home hub (Home Assistant handles this nicely), and you can stage the response: side vents first, roof vents next, fans last, each firing at its own threshold instead of everything dumping on at once.
Backup Power Matters
Here’s the part people forget. Heat waves and grid strain show up together, and rolling outages tend to hit right when you need the vents open most. If your ventilation runs on electric motors, pair it with a small battery backup or a solar trickle charger, because a vent that fails closed during a blackout is worse than no automation at all. This is exactly why a lot of growers keep one passive, non-electric wax-cylinder opener running alongside the electronic system, just as insurance.
Quick Setup Checklist
- Mount sensors at canopy height, and keep the sensor housing itself out of direct sun (a sensor baking in sunlight gives you a false reading)
- Stage your thresholds: vents, then fans, then shade, then emergency
- Add an outdoor sensor so the system can gauge how bad the heat wave actually is
- Keep a passive, solar-powered vent opener as your power-outage failsafe
- Recalibrate sensors monthly; a drift of just 3-4°F throws off your whole response timing
Final Thoughts
Automating greenhouse ventilation with temperature sensors turns a stressful, reactive chore into something you barely think about, which is exactly what you want when a heat wave shows up on its own schedule, not yours. Start small: two or three sensors, staged thresholds, one passive failsafe vent. That’s enough to get your plants through even a nasty summer stretch without the scorched-leaf cleanup afterward.