How to Prevent Smart Outdoor Camera Lens Fogging in Winter
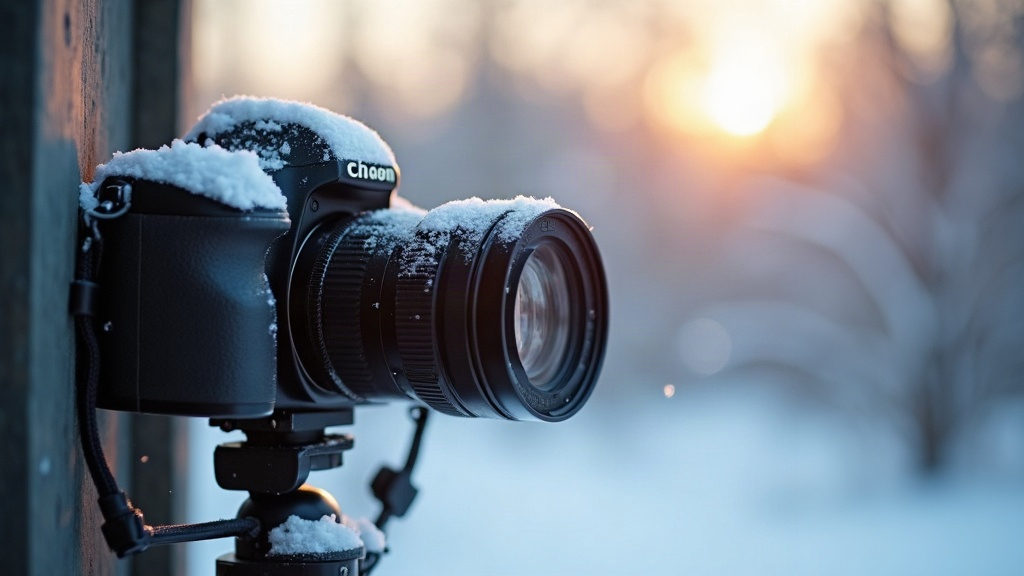
If your outdoor camera turns every winter morning into a blurry, milky mess, you’re probably not dealing with a broken lens. You’re dealing with condensation. It happens when warm, moist air trapped inside the camera housing runs into cold glass on the outside, and it’s a lot worse in humid coastal areas where salt air and wild temperature swings team up against you. The good news? This is fixable, usually with better placement, proper sealing, and a handful of cheap accessories.
Why Coastal Winters Are Brutal on Camera Lenses
Coastal spots stack three fog-causing conditions on top of each other:
- High ambient humidity from being near the ocean, often sitting at 70-90% overnight
- Sharp day-to-night temperature drops, which winter brings almost daily
- Salt-laden air, which clings to moisture far more aggressively than dry inland air does
When the inside of the camera (and whatever air is trapped in there) stays warmer than the glass facing outside, water vapor condenses right on the lens or the protective dome. Think of a cold soda can sweating on a muggy afternoon, same principle. Budget cameras with loose housings or no desiccant packet inside are the worst offenders.
Signs You’re Dealing With Fogging, Not a Hardware Fault
- Footage looks fine by noon but fogs up at dawn or right after rain
- The haze builds up slowly and burns off as temps rise
- You can see moisture sitting between the lens and the outer dome, not on the sensor itself
If fog shows up inside a dome that’s supposed to be sealed and it just won’t clear, that’s not everyday condensation. That’s a seal failure. More on that in a bit.
Fixes That Actually Work
1. Reposition for Airflow and Shade Balance
Don’t mount the camera somewhere it gets slammed with direct morning sun right after a cold night. That rapid temperature jump is basically a fog accelerator. Tuck it under an eave or overhang instead, so it’s shielded from rain but still gets gentle, indirect airflow rather than sitting in stagnant, trapped air all night.
2. Add a Silica Gel or Desiccant Pack
Most outdoor cameras have a small compartment tucked behind the lens cover. Drop in a rechargeable silica gel packet (you can find multi-packs for a few dollars online) and it’ll soak up internal moisture before it ever has a chance to condense. During winter, swap it out or recharge it (low-heat oven dry works) every 2-3 months.
3. Apply an Anti-Fog Coating
The same anti-fog sprays and wipes used on car windshields or dive masks work great on the outer lens glass. Do this once a month:
- Wipe the lens down first with a microfiber cloth and isopropyl alcohol
- Apply a thin, even layer of anti-fog solution
- Buff it gently, streaks will scatter light and wreck your night footage
4. Check and Reseal Housing Gaskets
Salt air eats rubber gaskets faster than it would inland. Take a look at where the lens meets the housing:
- Check for rubber that’s cracked, gone stiff, or shrunk
- If a manufacturer gasket kit exists for your model, use it
- For hairline gaps, a thin bead of marine-grade silicone sealant does the trick (just keep it well away from the lens itself)
5. Use a Camera Rain/Sun Shield With Vents
A vented hood pushes the lens further back from direct weather while still letting air move, which cuts down the little humid pocket that forms right against the glass. Just make sure you pick a shield built for your specific camera model, otherwise it’ll end up blocking part of the frame.
6. Insulate Exposed Wiring Conduits
Here’s one people miss: cold conduit runs can actually channel condensation straight toward the camera body. Wrap the exterior conduit in foam pipe insulation and you’ll keep temperatures steadier, which means less moisture creeping into the housing.
When to Contact Support or Replace the Unit
If the fog is showing up inside a factory-sealed dome and sticking around, or worse, you’re seeing actual pooled water instead of a light haze, the O-ring seal has probably given out. Keep using it like that and you’re risking corrosion inside the unit. Most of the well-known brands (Arlo, Ring, Eufy, Reolink) back coastal buyers with weatherproofing warranties, so check your model’s IP rating first. You want IP65 or higher if you’re dealing with salt air.
Quick Winter Maintenance Checklist
- Wipe the lens weekly with a microfiber cloth
- Reapply anti-fog solution every month
- Swap desiccant packs every 2-3 months
- Check gaskets at each season change
- Make sure firmware is current (some brands have added humidity-compensation features)
Conclusion
Fogged-up lenses in coastal winters come down to basic physics, not a defective camera, and they respond well to a few straightforward fixes: smarter placement, desiccant packs, anti-fog coatings, and keeping an eye on your gaskets. Spend an hour on this now and you’ll get crisp footage all winter instead of foggy clips on the one morning you actually needed to see something clearly.